
The default PowerPoint slide is not the correct size or aspect ratio for a large format poster. Your must resize your slide, you can do this from the Design tab, on the far right where it says Slide Size

You will select 'Custom' from the bottom of the menu and you will have to select custom size again from the drop down on the popup window. From there you will be able to enter your poster dimensions of 43" wide by 33" tall for a landscape orientation poster or the opposite for a portrait orientation. Once you have entered your dimensions and hit OK you will be presented with another pop-up window about resizing existing elements. Pick Maximize!


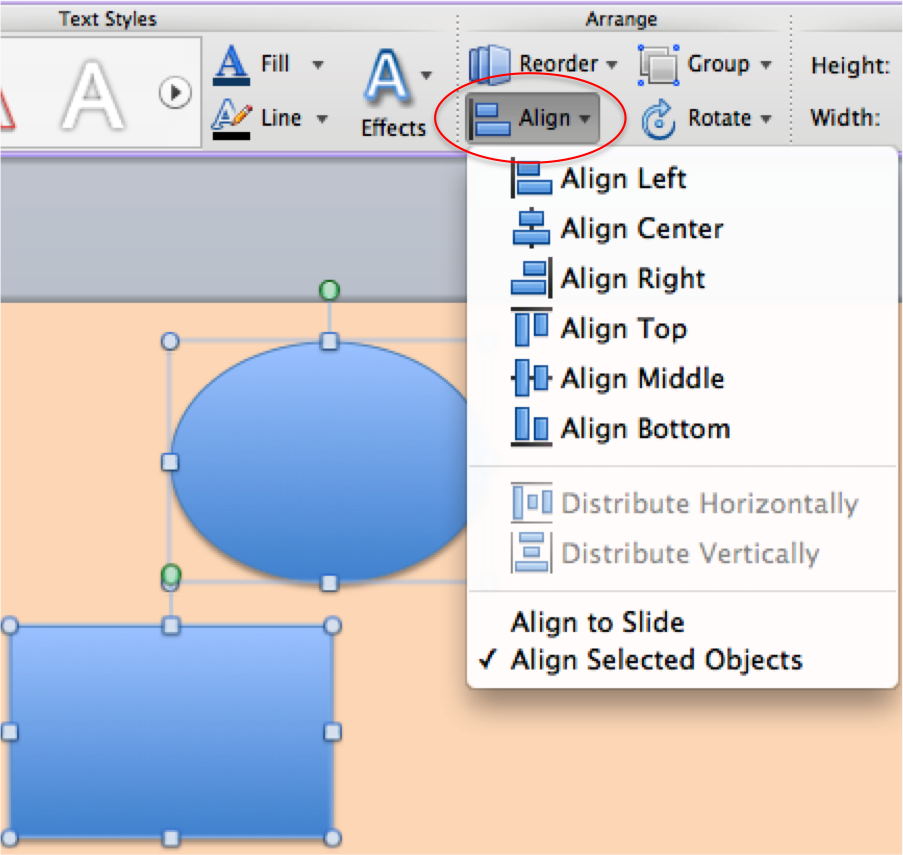
You can align objects on your poster to create symmetry and ensure that objects are where your want them to be (i.e. title centered on slide).
1. Select the object(s).
2. Select the Format tab above the ribbon, and access the Align drop down menu from under the Arrange label in the ribbon.
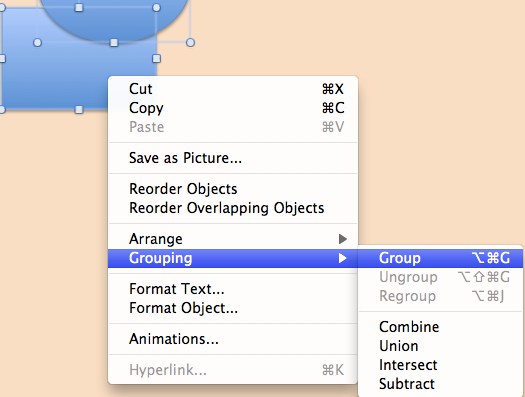
As you add text boxes and shapes to your slide, you may find it beneficial to create groupings. That way when you want to move a number of objects, you can move them as a group.
If you have an image that has a single color in the background, you can erase the background color. Bring up the Format Picture tab by double clicking the image if that is not already the current tab. Now, select the Remove Background button, shown below.

Now the background in your image will appear pink and you will see an adjustable size selection box in the center of your image. This box decides what part of your image is being used to remove the background. If the background your removing doesn't seem right at first, try adjusting the box, or using the default selection tool to draw around areas you want to be kept in. When your finished, click outside of the image and the pink area will disappear.

Your poster background can be a solid color, gradient between multiple colors, texture, or picture. To set the background, go to Format in the top menu, and select Slide Background from the drop down menu. You can also do this by going to the Themes tab and selecting the Background drop down menu under the label Theme Options.
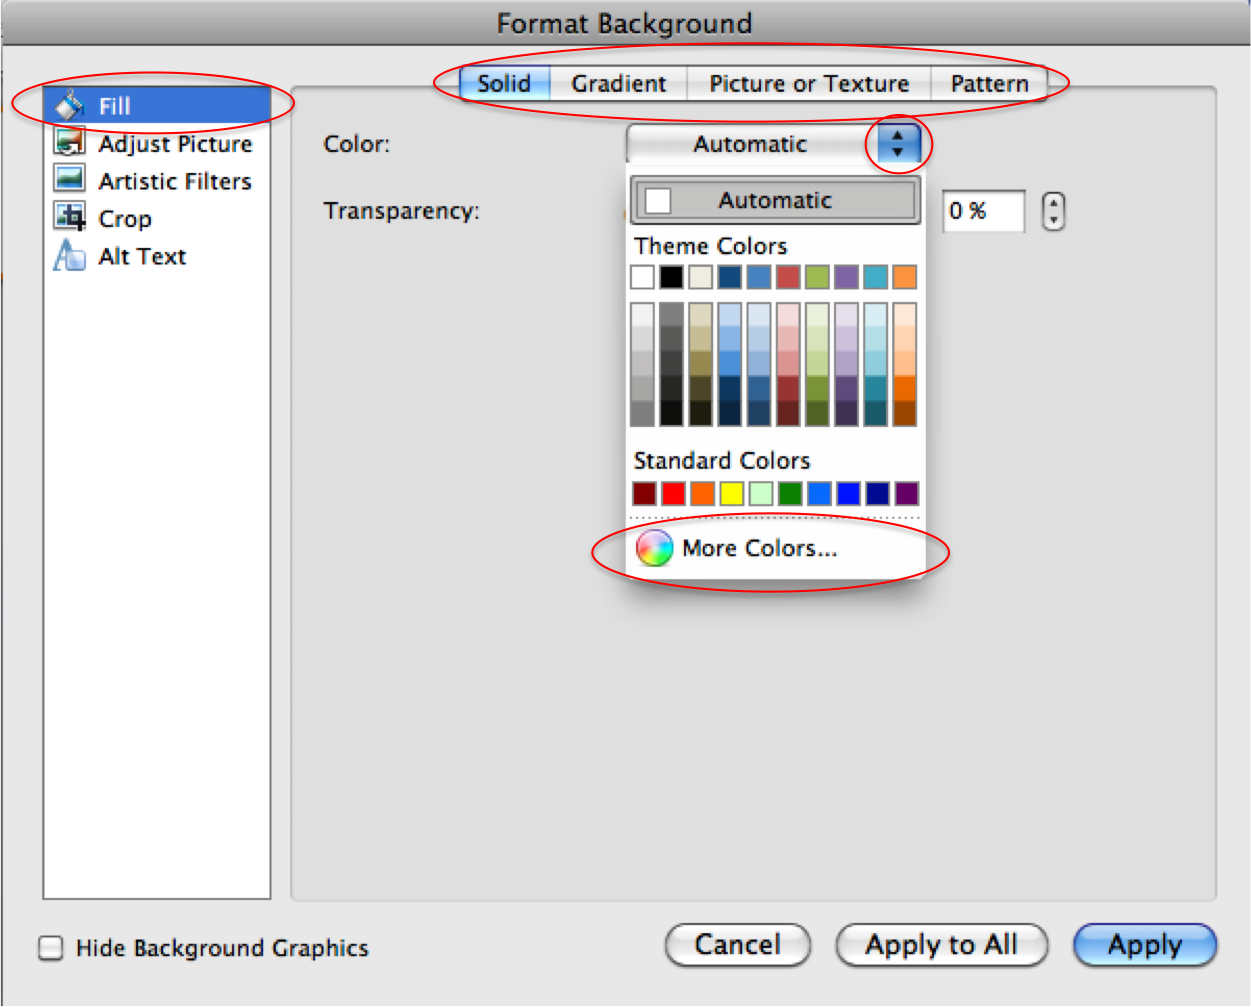
1. Select Fill on the left. To select a solid, picture, or texture background click on the appropriate tab at the top of the box and select your background.
2. Solid Color: Under the Color scroll down menu, select a color. Clicking on More Colors will allow you to select a color manually from a color wheel. If you choose to do this, this color will be available for the duration of your project under Recent Colors.
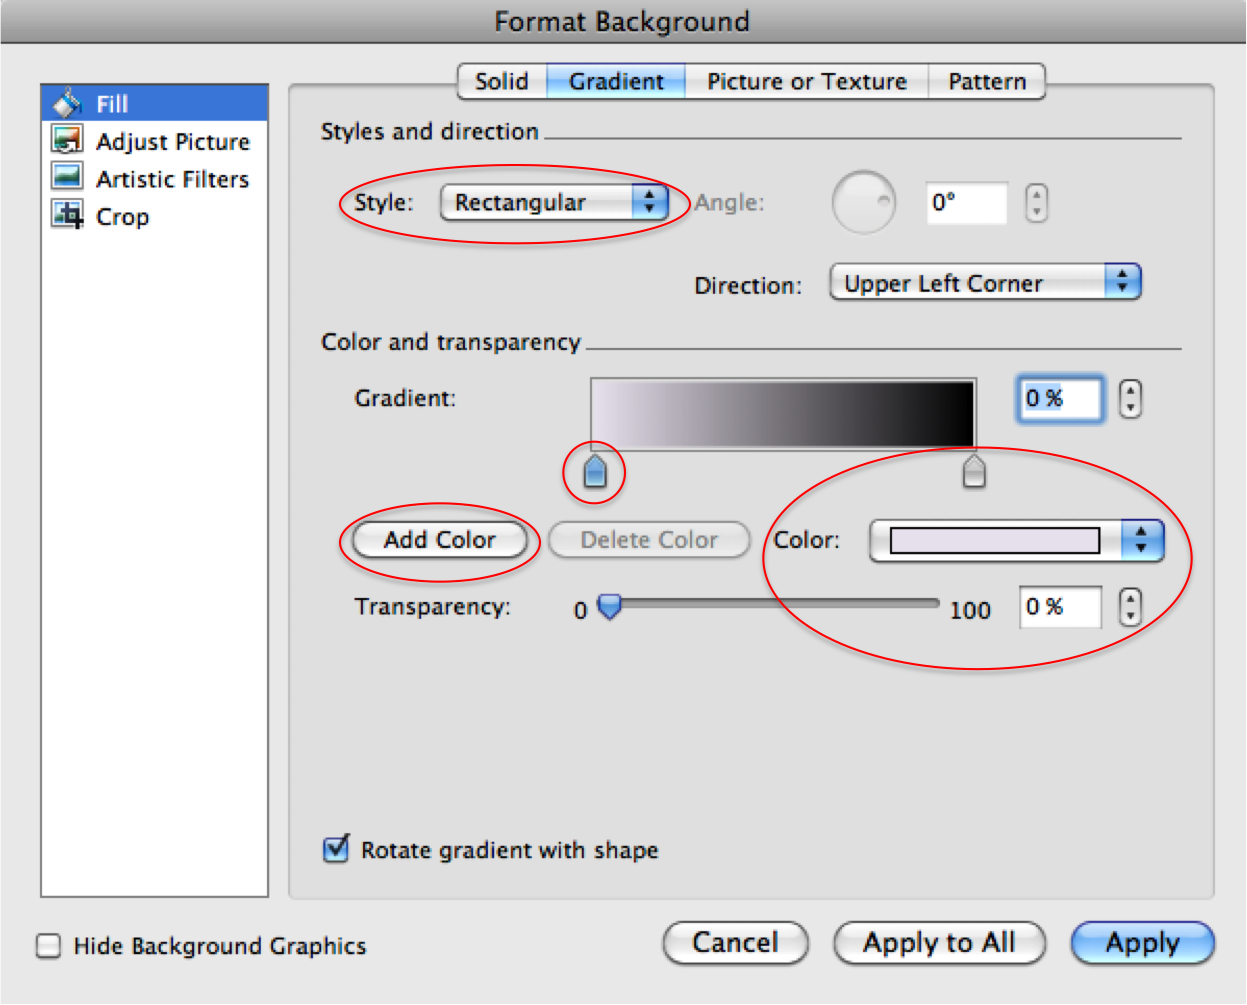
3. Gradient background: Click on Gradient on the tab at the top of the Format box.
To change the look of your text box there are a few option. First, double clicking the text box will open up the Format tab, thus displaying a whole new group of tools and settings within the ribbon, shown below.

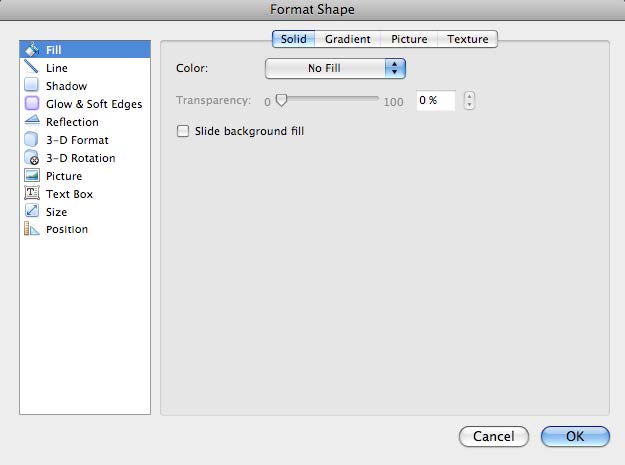
Under this tab you will find many useful options, however if you prefer you can right click on your text box and select the Format Shape... option. This will open up the Format Shape dialog box. In this box you can change the fill, shape, orientation, create a reflection, and numerous other options. NOTE: Not all options are appropriate for posters.
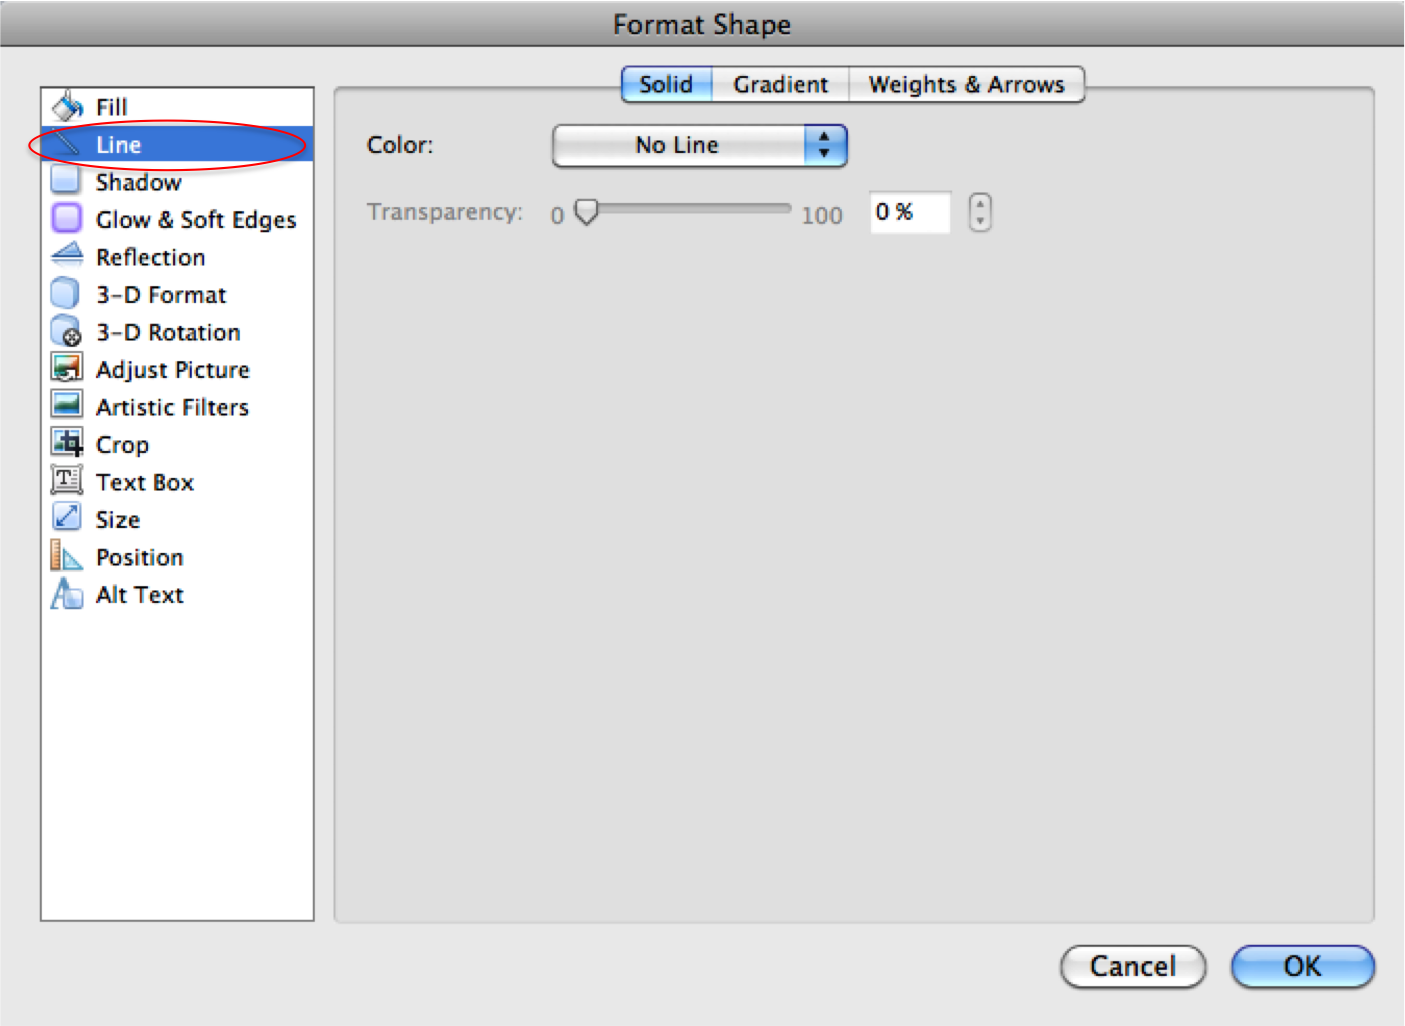
The Format Shape dialog box will have the Fill option at the left selected by default. Under this option you can change the fill (background) of your text box to a solid color, gradient, picture, or texture. The options are pretty straightforward, and any changes you make will be shown on the textbox in the slide. You can also select the Line option. This will present you with options to change the border around the text box. The default border is none, and as before, any changes you make will be shown on the textbox in the slide.
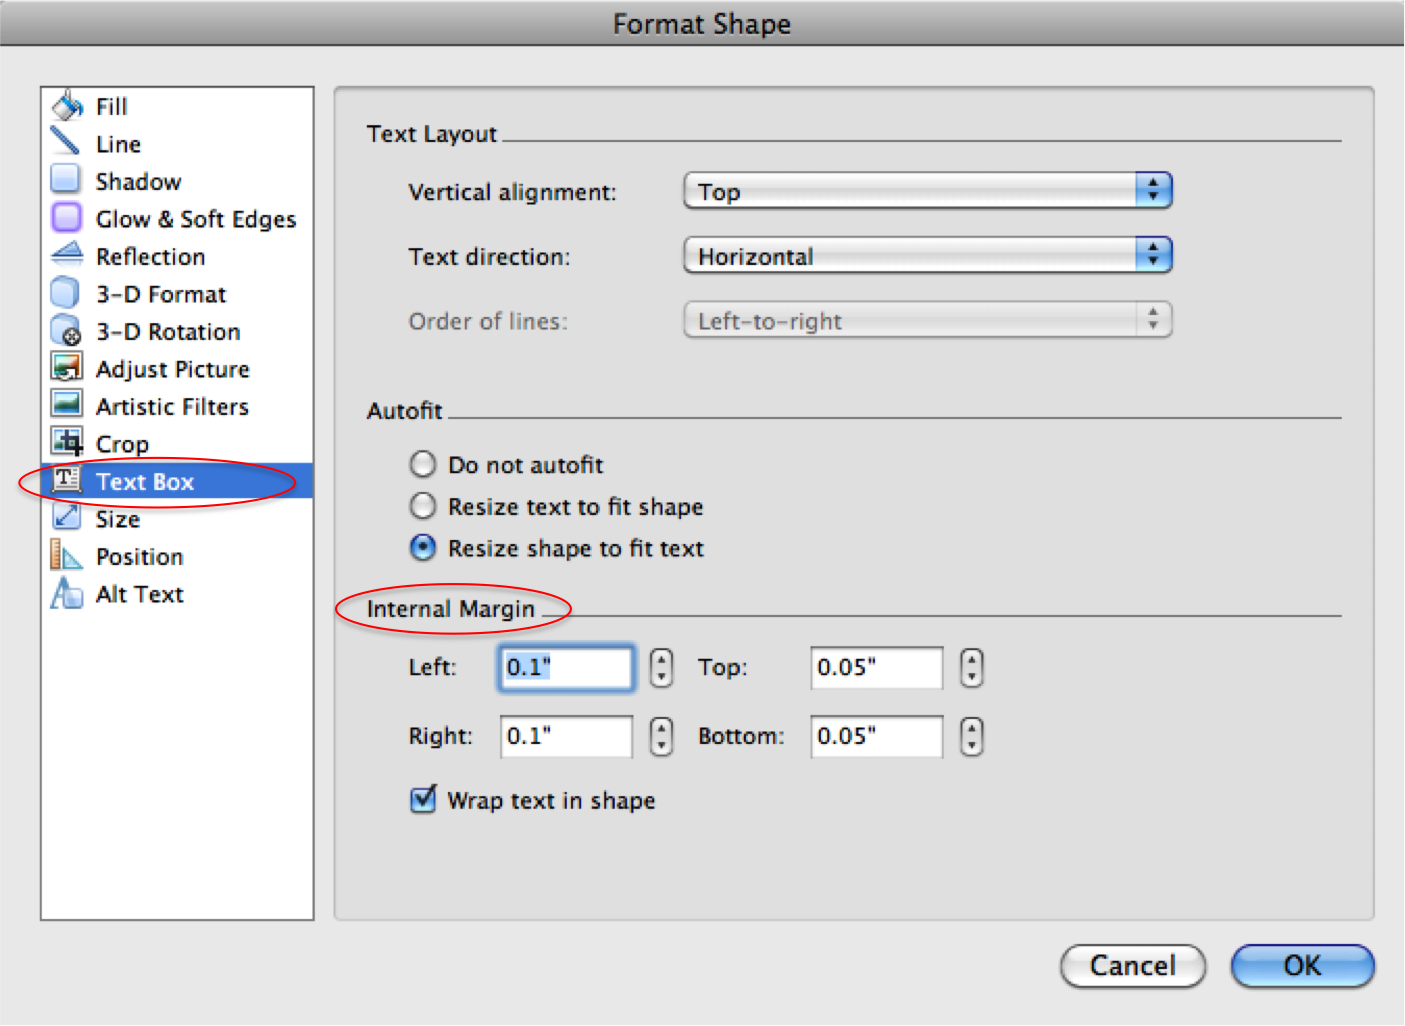
Two more useful options one should note are the Text Box option and the Size option. Under Text Box, you can change the text layout as well as the margins within the text box. Under Size, you can change the size and rotation of the text box. As always, any changes will preview on the textbox in the slide.
 |
 |
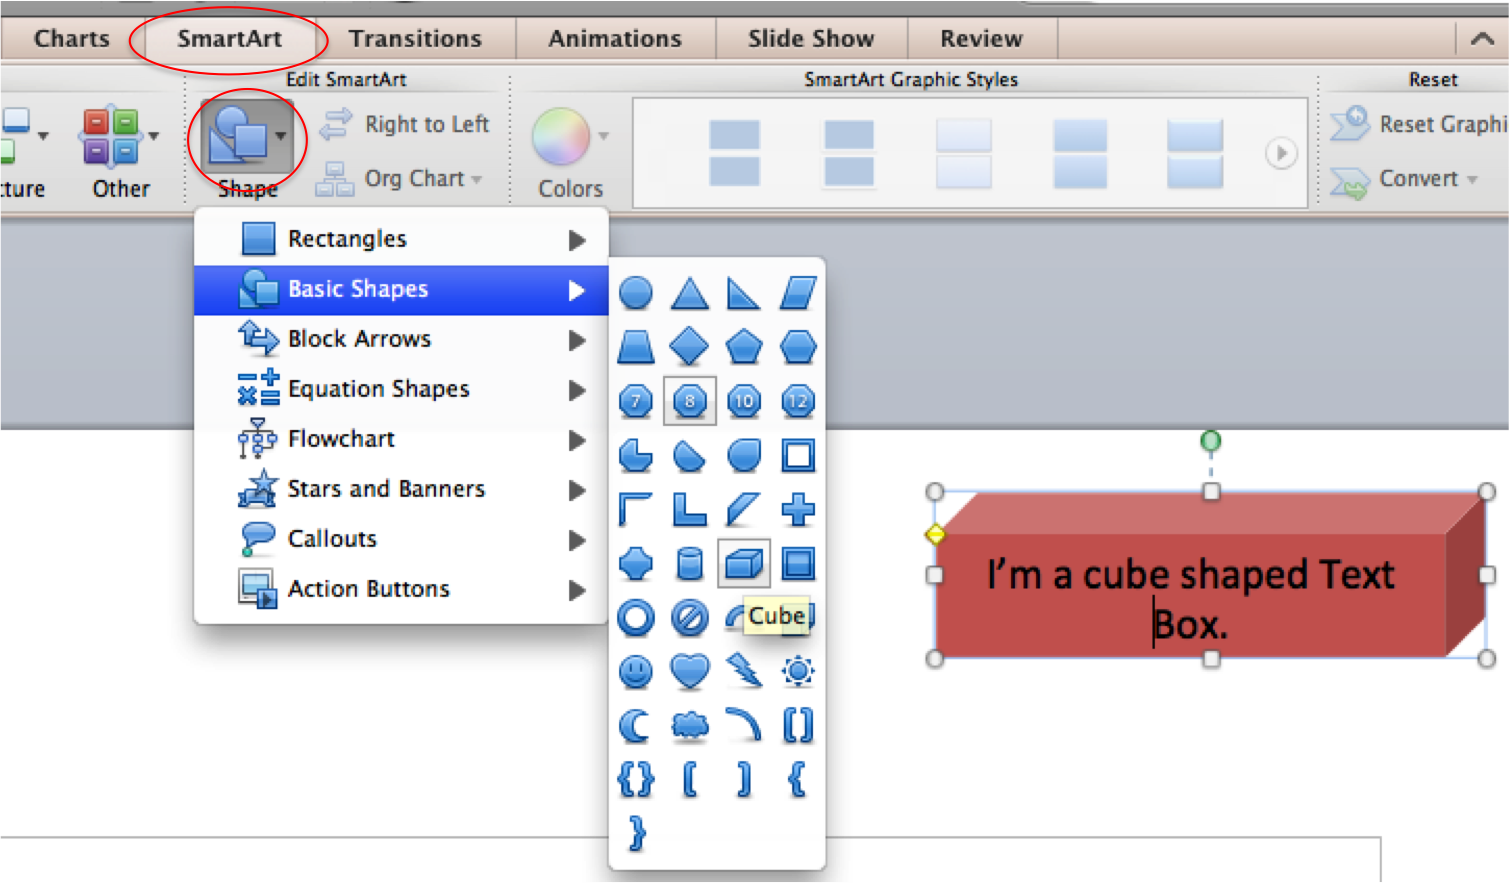
It is also possible to change the shape of your textbox. To do this, select your textbox, then go to the SmartArt tab located above the ribbon. Under the SmartArt tab, select the Shape drop down menu, and select a shape from the options. Your textbox will automatically change to the new selected shape. NOTE: Your textbox must be a different color than the background to observe the changes in shape.
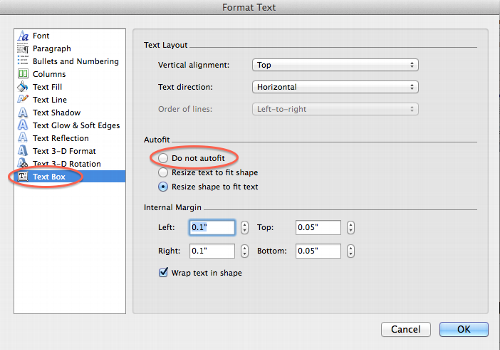
PowerPoint's default with textboxes is to either make the box bigger the more you type, or make the text smaller. This is known as autofit. While this is useful for presentations, it can become a problem with poster design, where you want tight control over the font size and where the text goes. You can turn autofit off in a few simple steps.
Right click on the text box and select Format Text.

A new window will pop up. Select Text Box at the bottom of the menu on the left.
Check Do not autofit.
Hamilton College, 198 College Hill Road, Clinton, NY 13323 • 315-859-4735 • Copyright © 2024 The Trustees of Hamilton College. All rights reserved.